


How to Get a USA Tourist Visa from India in 2025
Big trip to the U.S.? Get your tourist visa with this easy guide by Brightsun made for Indian travellers.
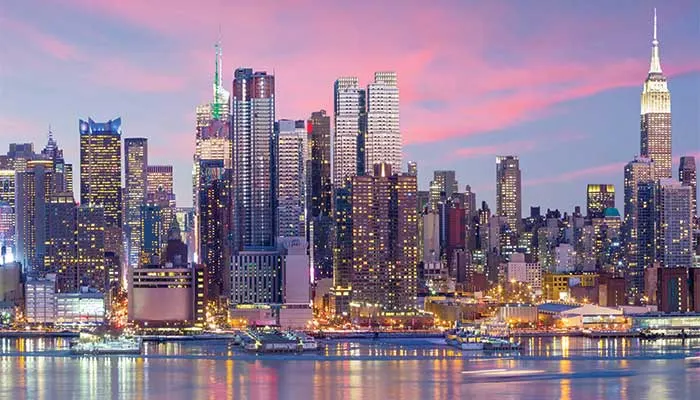
Planning a trip to the United States? Whether you're dreaming of strolling the busy streets of New York City, soaking the natural beauty of the Grand Canyon, relaxing on California's beaches, or exploring historical monuments in Washington D.C., the United States has something unforgettable for every traveller.
The first step is to get an U.S. tourist visa if you have an Indian passport and want to discover the culture, scenery, and famous cities of America. Though at first the procedure might look a little intimidating, worry not—here's a breakdown to get you started on your American journey.
Step 1: Know Which Visa You Need
First, find your required visa category. A B-1/B-2 visitor visa is needed if you are traveling for business meetings, seeing relatives or friends, tourism, or simply taking a journey. Usually valid for 10 years with several entries, this is the most often used visa for Indian travellers.
If you’re going for studies or work, the visa type will be different — like an F-1 for students or H-1B for employment. But for travel? Stick with B-2.
Step 2: Fill Out the DS-160 Form
This form, the primary visa application, must be completed online. It asks for your travel plans, job information, a few security questions, and some fundamental personal details.
Make sure everything is accurate. Later on, even little errors can lead to problems. Submit it once it's finished; then print the verification page with the barcode. You’ll need to take this to your appointments, so don’t lose it!
Step 3: Pay the Visa Fee
The next step is to pay your visa application fee. The charge for a B-1/B-2 visa is USD 185, which is approximately ?15,000 depending on the exchange rate. You can pay it by going to a partner bank such as Axis Bank or Citibank or via internet banking (NEFT or IMPS).
Keep the receipt safe after payment. You’ll need the receipt number to book your appointment.
Step 4: Book Your Appointments
You will need to arrange two appointments—one at a Visa Application Centre for fingerprints and photographs and another at a U.S. Embassy or Consulate for the real visa interview. Major cities include Delhi, Mumbai, Chennai, Hyderabad, Kolkata, and Chennai host Visa Application Centres. Select the one most practical for you. Book as soon as you can since interview openings can fill up quickly.
Step 5: Get Your Documents Ready
Once your appointments are set, it's time to gather your paperwork. You will need:
-
Your current passport (with at least 6 months’ validity)
-
DS-160 confirmation page
-
Appointment confirmation
-
Visa fee receipt
-
A passport-size photo (just in case)
-
Proof of funds, like bank statements or salary slips
-
Any supporting documents — for example, job verification letters, property papers, or a letter from whoever you’re visiting in the U.S.
You don’t need a huge pile of paperwork — just enough to prove who you are, why you’re travelling, and that you’ll return to India.
Step 6: The Visa Interview
The visa interview is now the section that makes most people anxious. Fear not. This proess is usually fast and easy.
A visa official will ask you a few simple questions like why you're visiting, how long you will stay, who is financing the trip, and what you do in India. Answer confidently, truthfully, and keep it brief and straight to the point.
The aim is to demonstrate that you are visiting for a legitimate cause and that you will come back to India following your trip.
Step 7: What Happens Next?
Your passport will be taken for stamping if your visa is approved. Usually, you'll get it back by courier in about a week. If your request gets rejected, the officer will inform you why —typically it is since they weren't convinced that you would travel back to India or certain paperwork was missing.
Step 8: How Long Can You Stay?
Most visitor visas let you make several trips to the United States within the 10-year validity. However, the maximum stay per visit is usually 6 months, and the final say always comes from the U.S. Customs officer at the airport.
Therefore, even if your visa is good for years, your actual stay depends on the stamps they put on your passport when you arrive.
Common Reasons for Rejection
No one wishes to be rejected, yet it does happen—usually for little, preventable reasons:
• Missing or improper application
• Poor financial records or travel history
• Difficulty in articulating your itinerary clearly
• No compelling justification to return to India
If this happens, never give up! After you resolve the issue, you can always apply again.
That’s it — you’re ready for America!
Getting a U.S. visa seems like a lengthy process, but it is only a few steps: complete the form, pay the charge, schedule your appointments, attend your interview, and wait for your passport. Proper planning will make you cruise it.
Once that visa is stamped, the world is your oyster—or in this instance, America is your playground. Happy travels!
Send us a message
Social Follow
CATEGORIES
Contact Us
- Unit no 101, First Floor, Tower-A, Unitech World- Cyber Park, Sector 39, Gurgaon, Haryana-122003, India.
- 24/7 Call Service 0124 416 3001
-
Join us on Whatsapp! +919873600317

- info@brightsun.co.in
Information
Follow Us
About Us
Brightsun Travel are a well-established company providing its customers with an extensive range of travel related services. Whether it’s booking a domestic flight or planning a luxurious international holiday, Brightsun’s team of dedicated travel professionals are at your service 24/7. The company was established in 1986 and over the years has flourished into a successful global business. In addition to two offices in Gurgaon, Delhi, Brightsun Travel also operates from the United Kingdom with an office in Manchester and their head office in Hounslow, London. Read more...
© 2021 Brightsun Travel Pvt. Ltd